How to edit any amber&ink brand board template
If you purchased any of my custom made brand board templates, first off, yeey! Thank you! I’ve written this tutorial specially for you, to help you edit any of my templates and create your own branding board!
Hi! My name is Tanita, I’m the creator of amber&ink and I make brand board templates! If you’re reading this, there’s a good chance you downloaded at least one of my branding boards and now you’re wondering – well, how do I use this exactly?
I’ve written up this step-by-step guide to help you edit and modify any of my brand board templates.
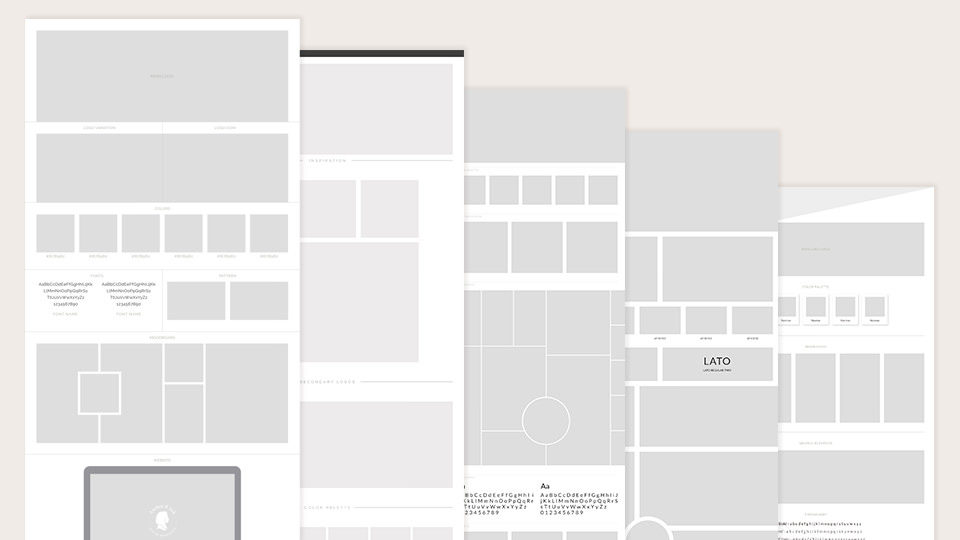
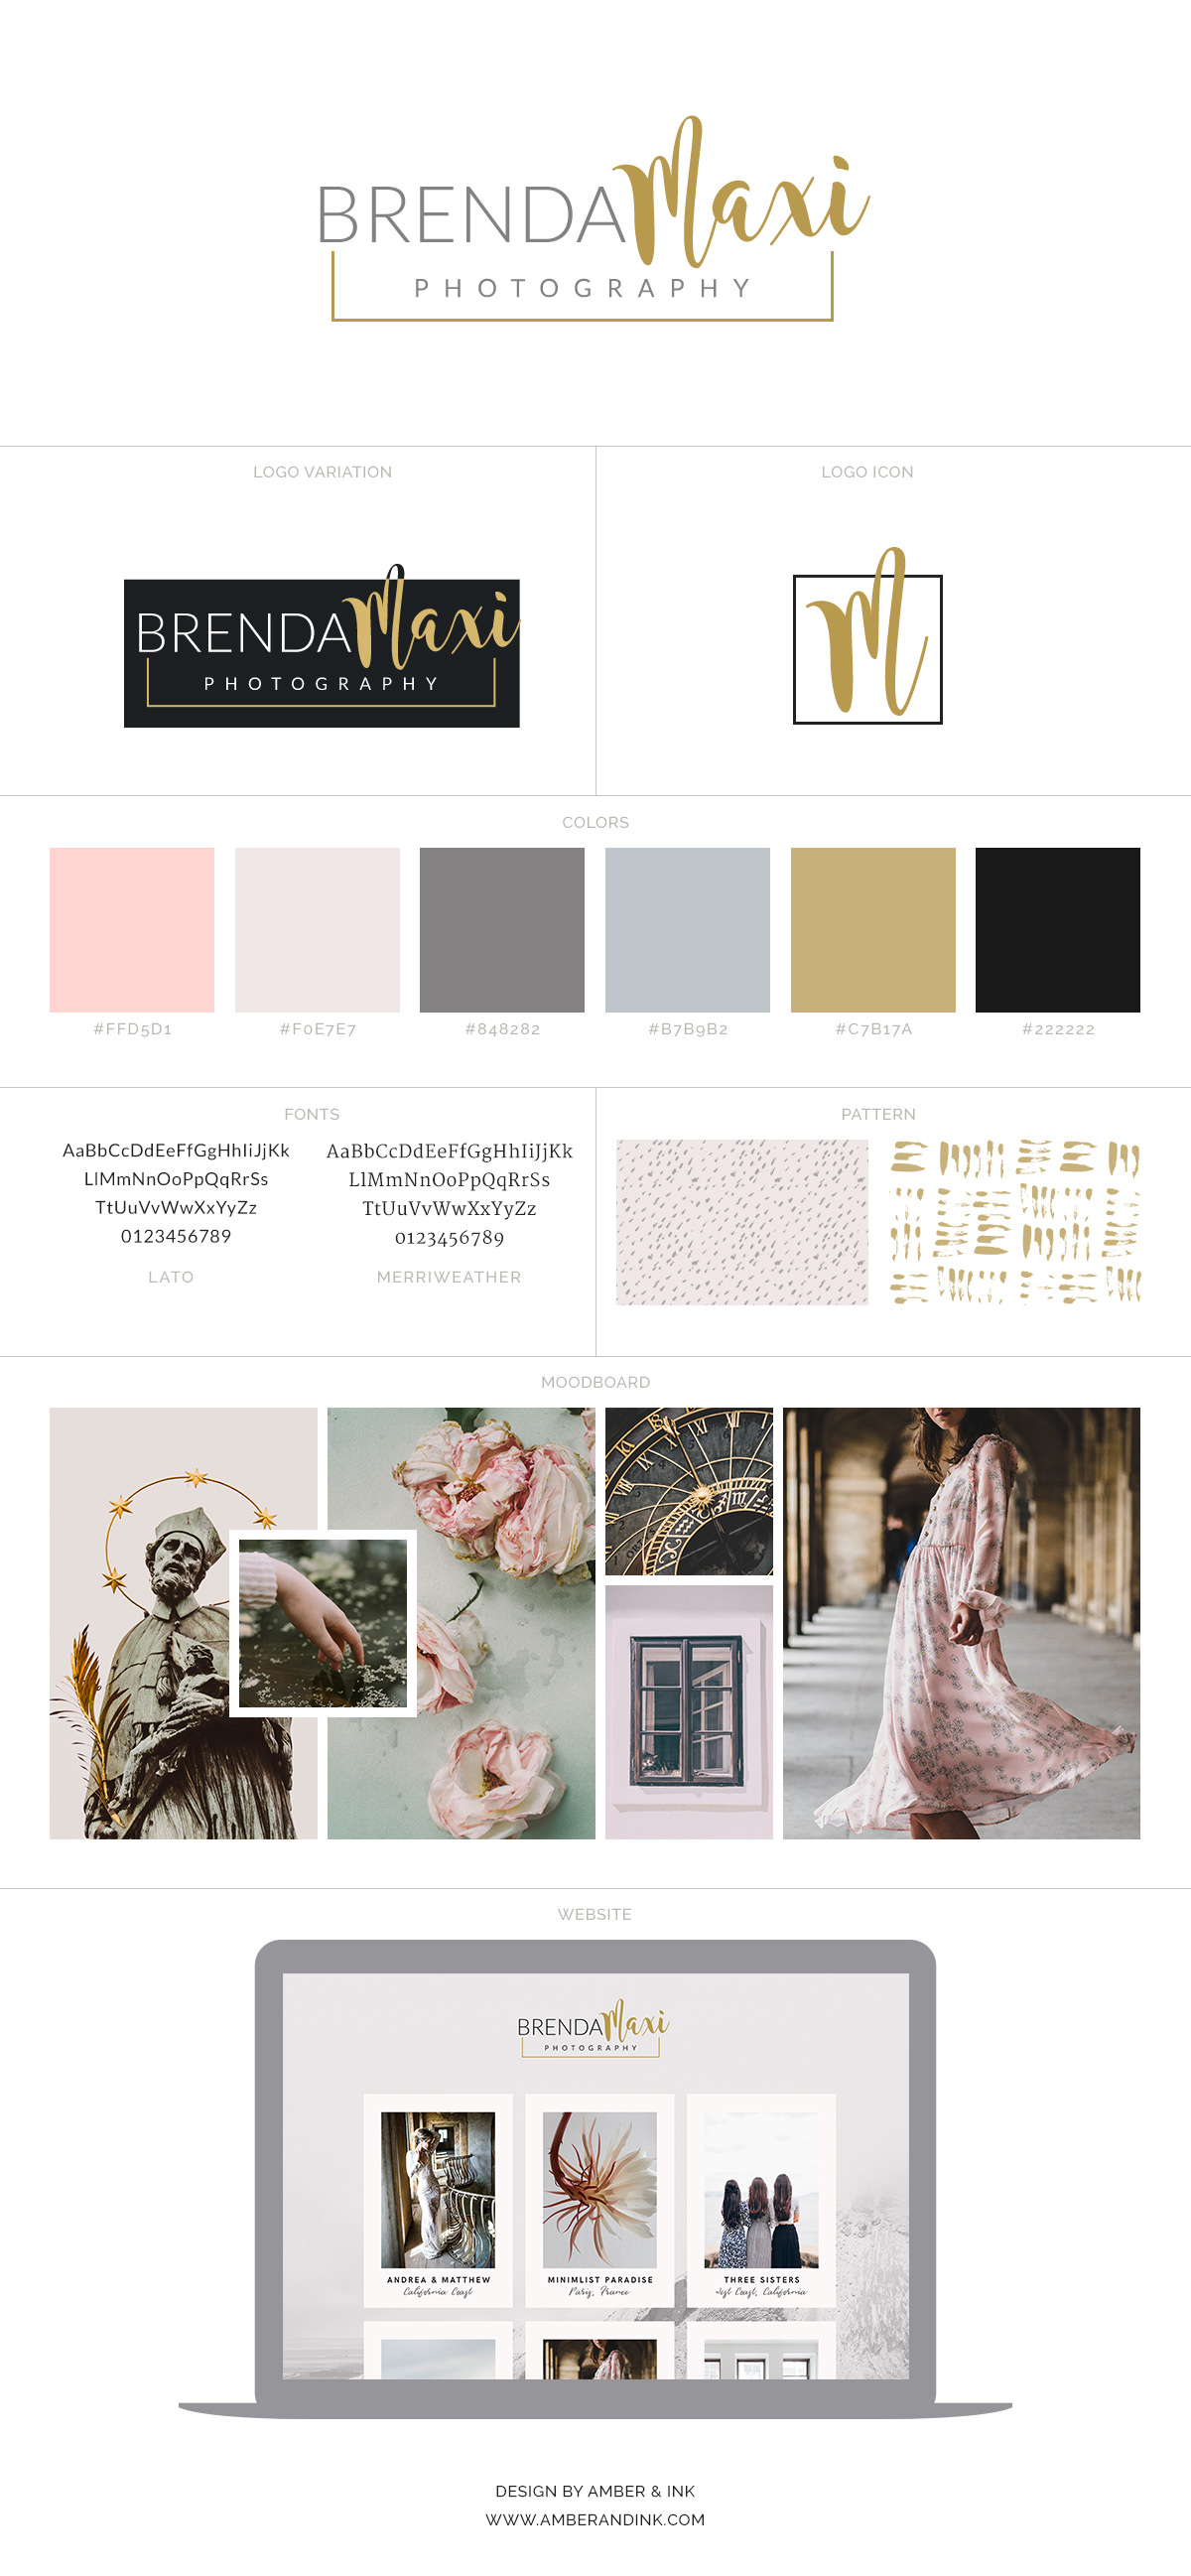
For this tutorial, I’m going to use my “Brenda brand board” but no matter which one you have, the same exact methods apply to all my brand board templates.
What you’re going to need
- Any amber&ink brand board template (available for purchase on CreativeMarket, Etsy or Adobe Stock)
- Adobe Photoshop program (CC 2015 +)
- All of the branding materials that you plan to place in your brand board
Ok, let’s get started, shall we!
1. Open the Photoshop file
After downloading any of my brand board templates, you got a zip file containing at least one Brand Board Template.psd file.
Open the template in Adobe Photoshop. If you do not have Adobe Photoshop on your machine, go to the official website and download a free trial that you can use to edit your brand board.
I’m using Brand board template: Brenda .
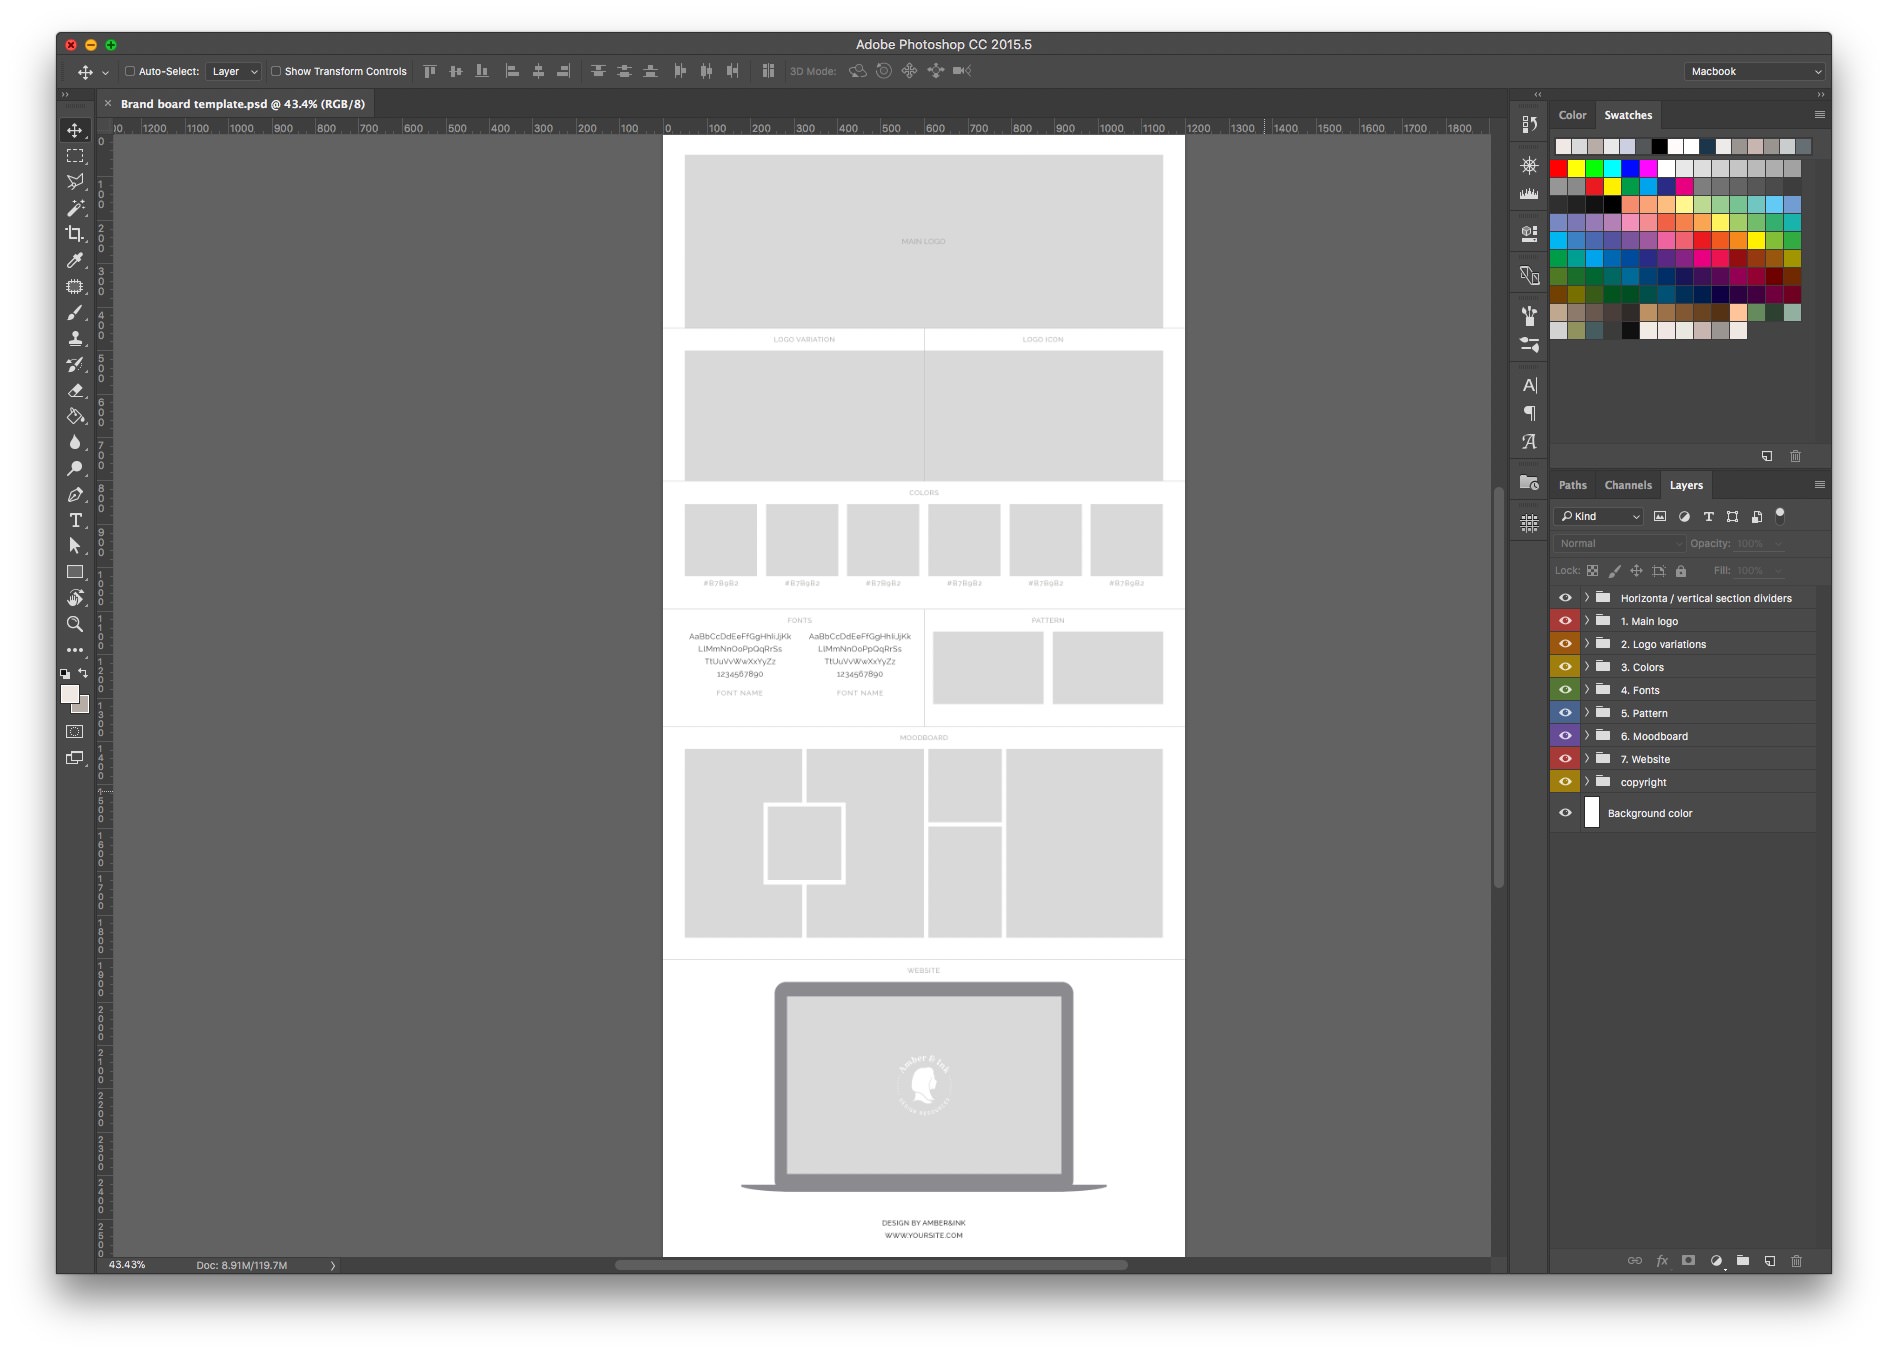
Layers
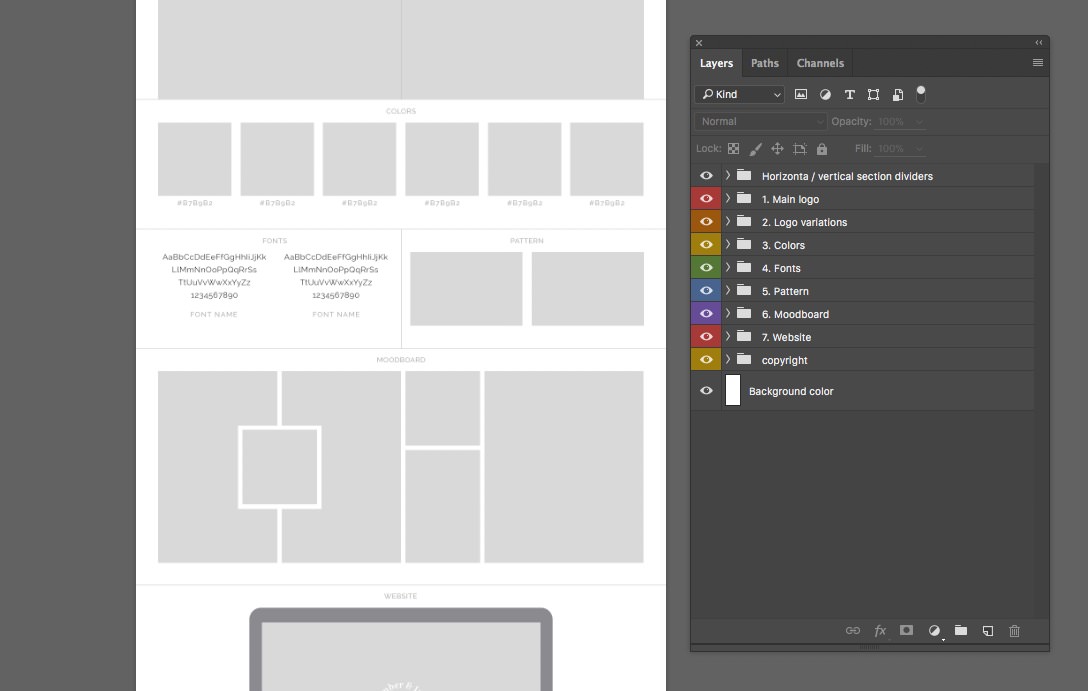
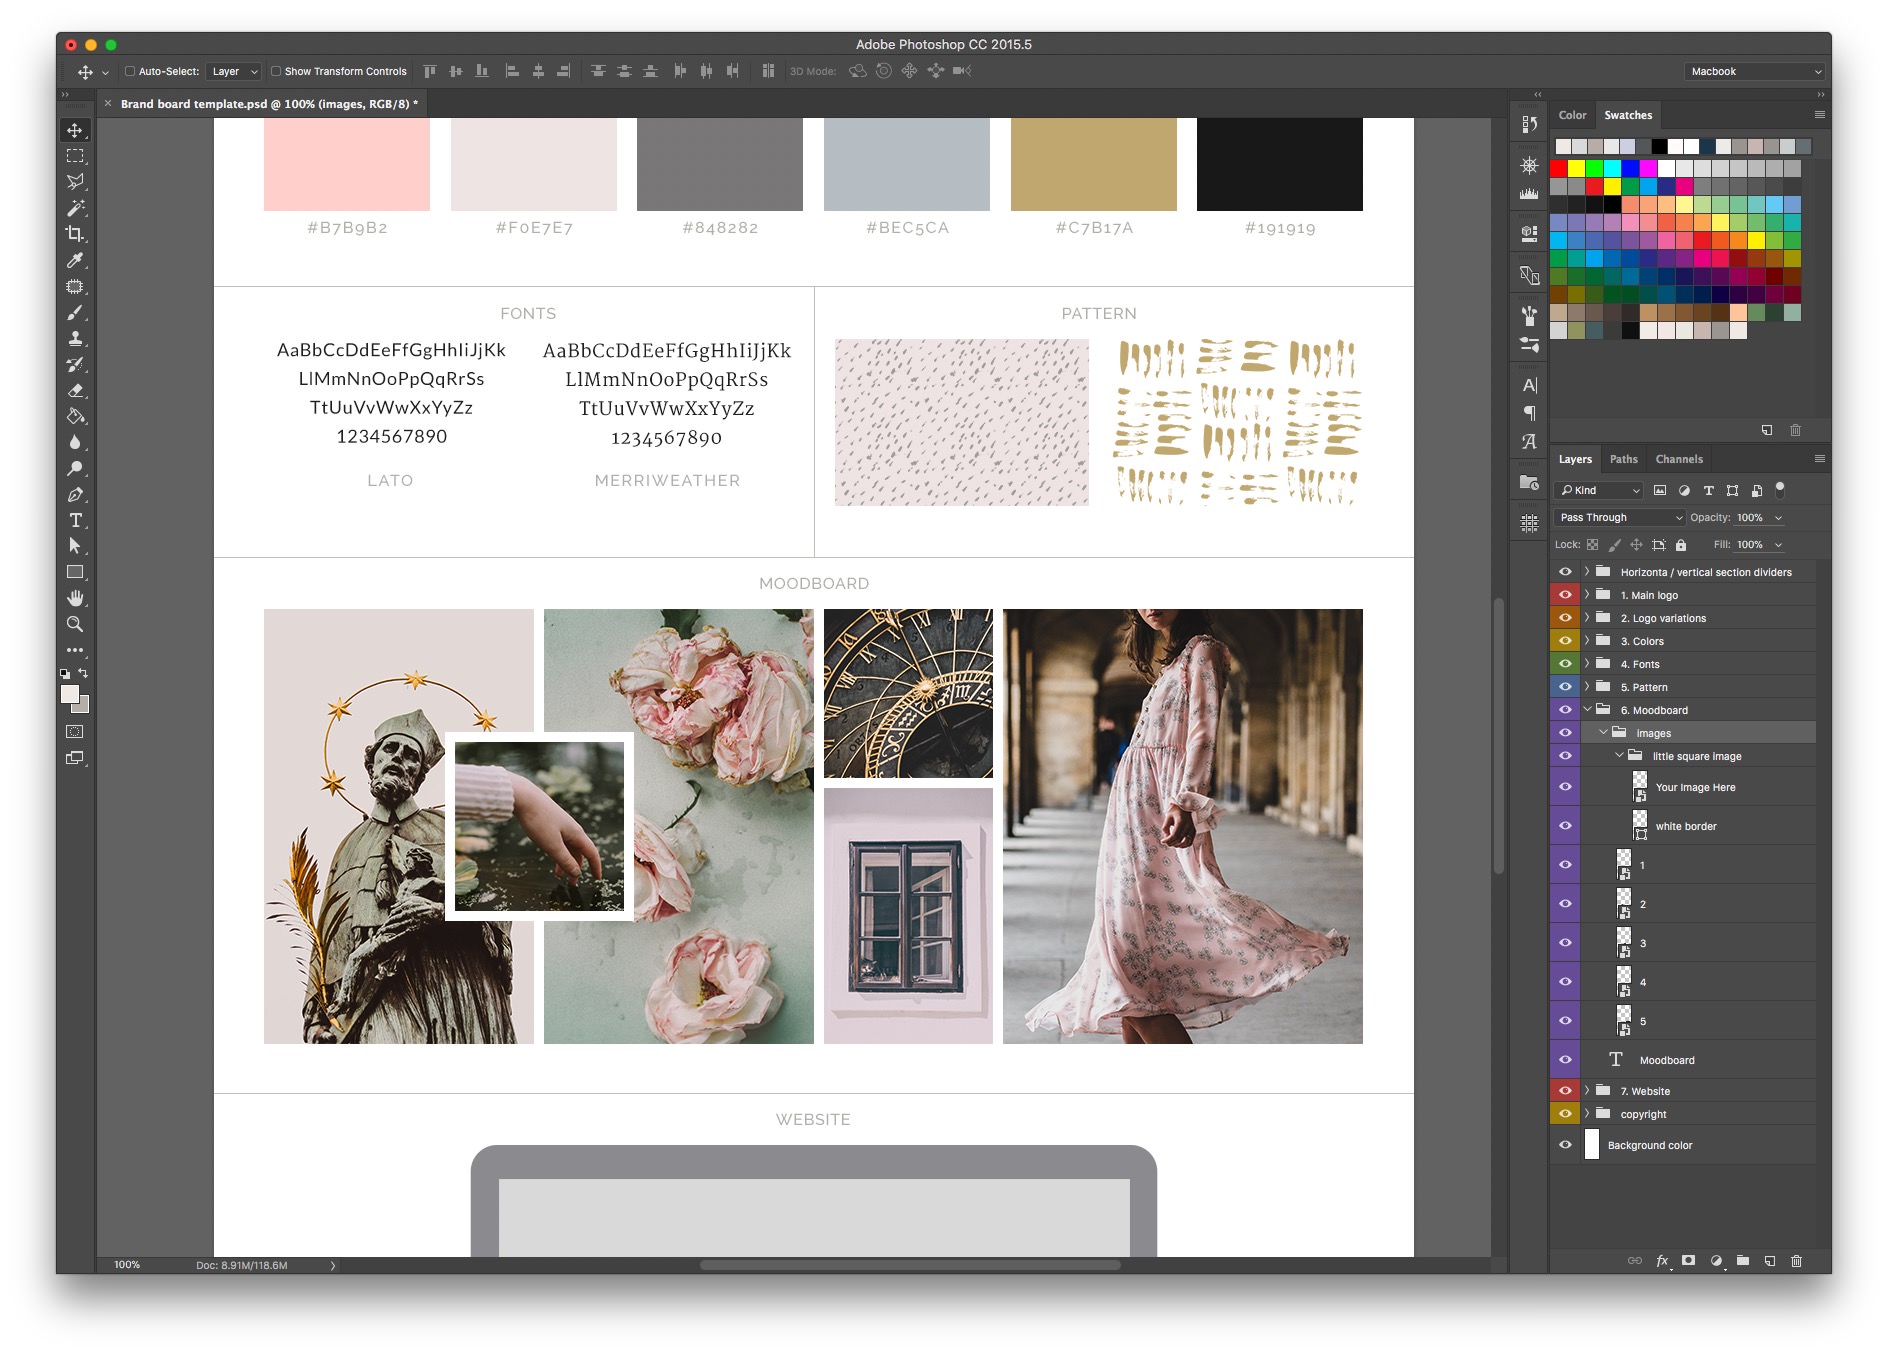
Locate the Layers panel (Window>Layers), you will see that each brand board section has its own, separate folder inside the Layers panel. We are going to place all our graphics, images and text inside these folders.
2. Adding the Main Logo
Let’s start by adding our main logo graphic to the brand board.
Step 1
In your Layers panel, locate the “Main Logo” folder. Toggle it open, by clicking on the arrow next to it.
You will see that there is a Smart Object layer inside the folder. Double-click on the thumbnail for this Smart Object layer.
Step 2
A new document containing only the “main Logo area” will appear.
Place your main logo inside this document, change the background color (go to Layer > New Fill Layer > Solid color), or add a background image. You can customize this document however you want!
In my case, I changed the background to white and placed a logo graphic in the center.
Step 3
When you’re happy with your layout, save it to make it appear in the main brand board template.
You save by either going to File > Save or by using the keyboard shortcut cmd+S / ctrl+S.
After you saved, simply close this document because we don’t need it anymore. If you decide to edit the main logo again in the future, double-click on the Smart Object layer again.
GOOD TO KNOW: Most of the brand board areas are built using Smart Object layers just like the one we just edited. So any time you see a Smart Object thumbnail in the layers panel, double-click to edit!
3. Logo Variations
In the “Brenda” template, the next section is “Logo Variations”. Depending on which template you’re using, you might have “Mood board” or “Color Palette” next but as I mentioned before, the same technique applies to all templates, so keep on reading to familiarize yourself with the editing process.
Step 1
Just like before, toggle open the “Logo Variations” folder and double-click on the Smart Object layer thumbnail to open it in a separate document.
Step 2
Place your graphic in the new document and change the background color (File > New Fill Layer > Solid color)
After adding both logo variation and a sub mark, my brand board looks like this.

TIP: Feel free to use any section for a different purpose – simply edit the section name by using the text tool (T) and clicking on any section name to change it.
4. Color Palette
It’s time to fill our brand board with our chosen brand colors.
Step 1
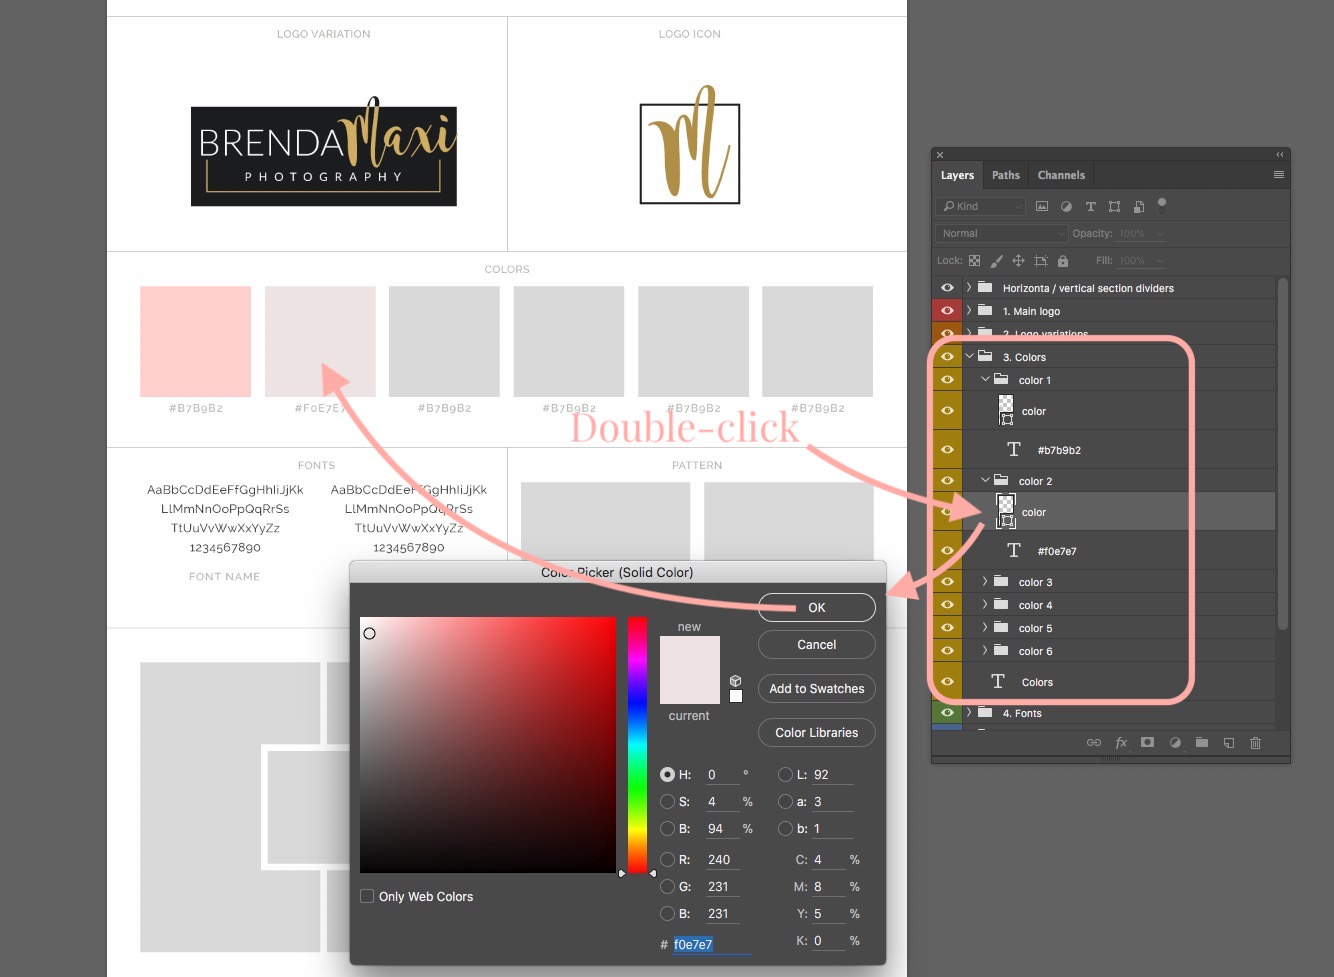
Toggle open the Color folder. Each color has its own layer.
Step 2
Double-click on the layer thumbnail. A color picker will open up where you can select your color!
5. Typography
Now it’s time to choose our fonts!
Step 1
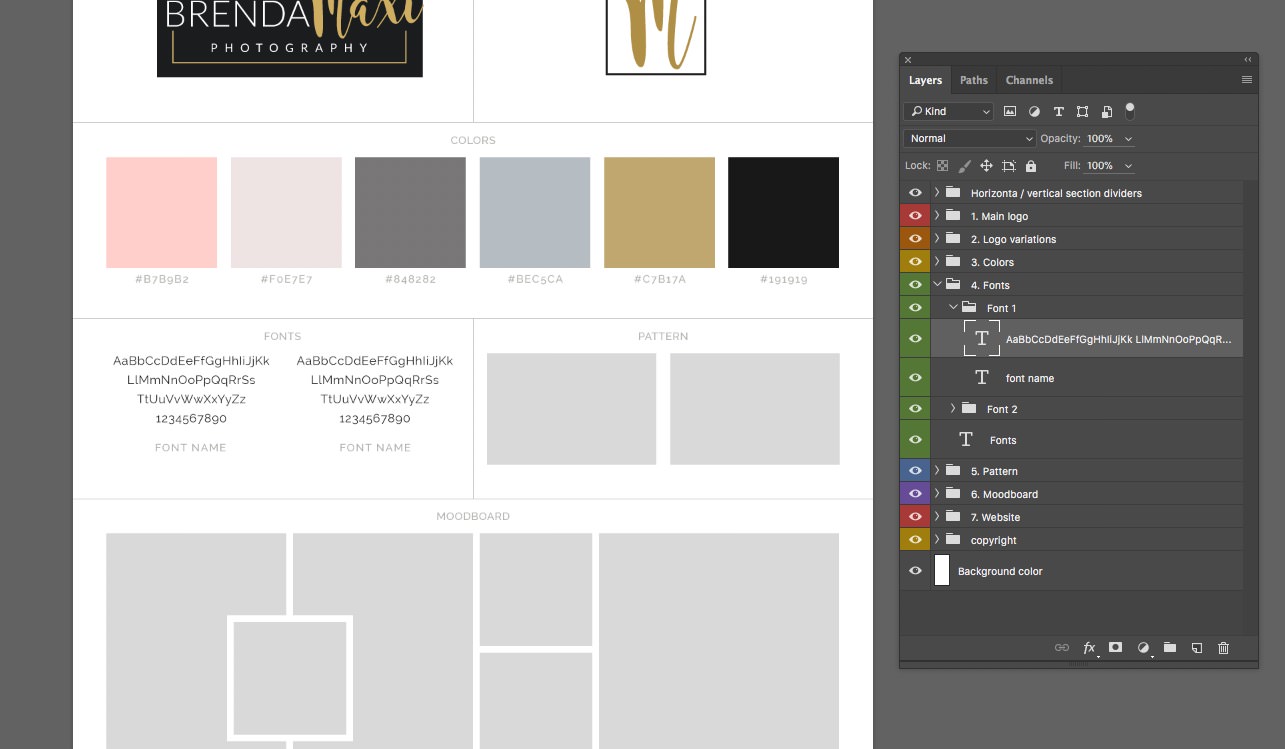
Locate the fonts folder in the Layers panel (Called Fonts or Typography). Toggle the folder open. You will see at least 2 folders inside the Fonts folder – one for each font.
Step 2
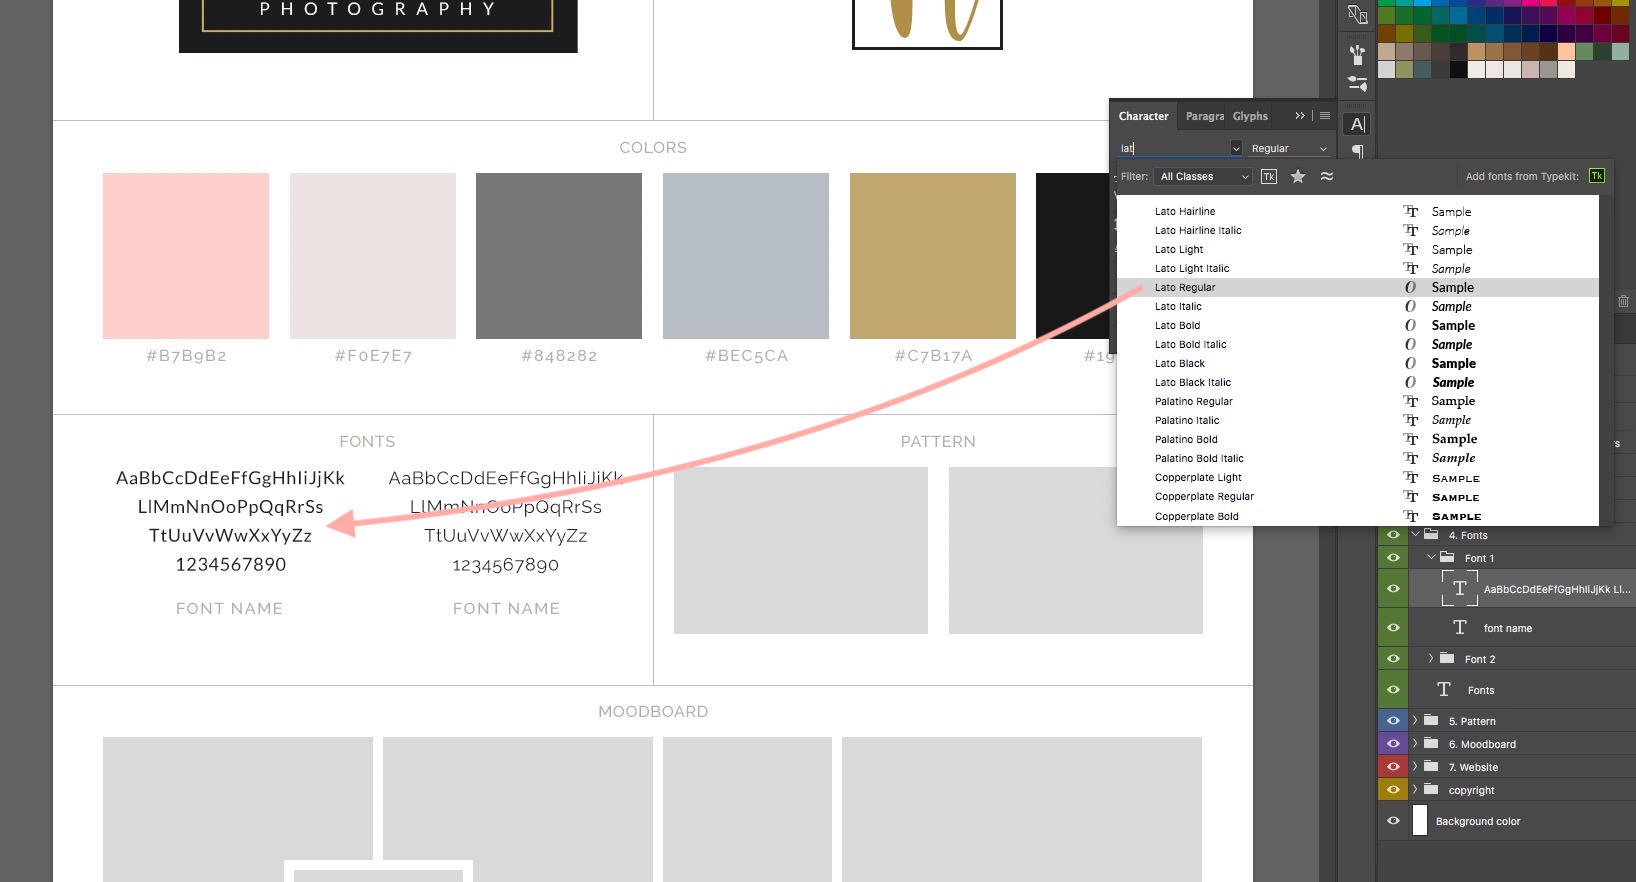
Open the first font folder and select the text layer with alphabet.
Step 3
With the text layer still selected, open the Character panel (Window > Character) and choose your first font.
When the first font is set, do the same for the other font areas.
6. Patterns and Graphic Elements
Depending on which brand board you’re using you might have areas for supporting patterns, web elements or graphics.
All these sections are built using Smart Object layers so you can add your patterns or graphics just like you added the main logo to your brand board.
Simply find the area you want to change in your layers panel, double-click on the Smart Object thumbnail, add your graphics in the new document and save!
7. Mood Board or Inspiration
It’s time to do our mood board! I find that creating the mood board part of a branding board to be the most fun.
I use Unsplash to find my inspiration images, so check it out – it’s free!
Step 1
Toggle open the Moodboard (or Inspiration) folder in your layers panel. You will see that each image has it’s own Smart Object layer.
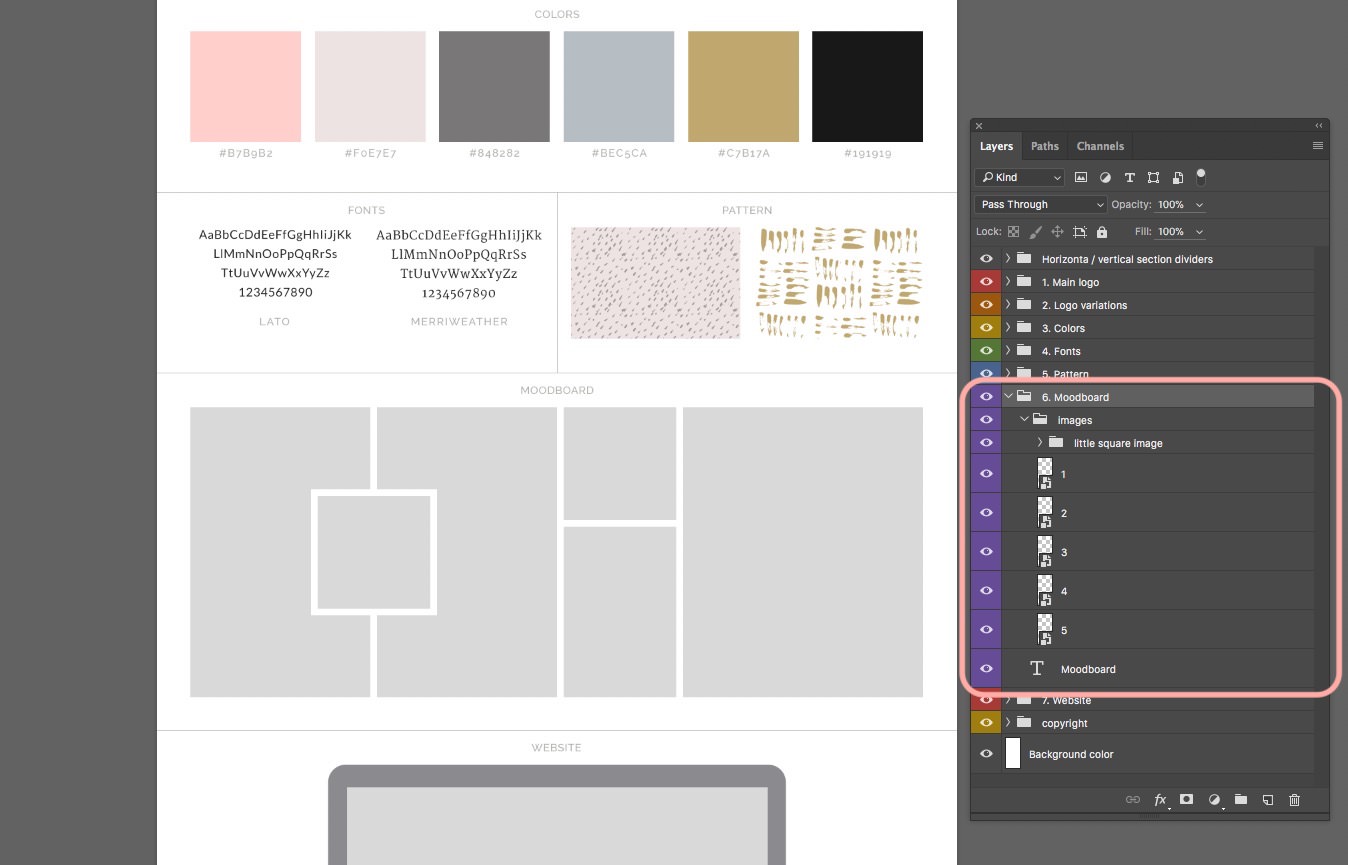
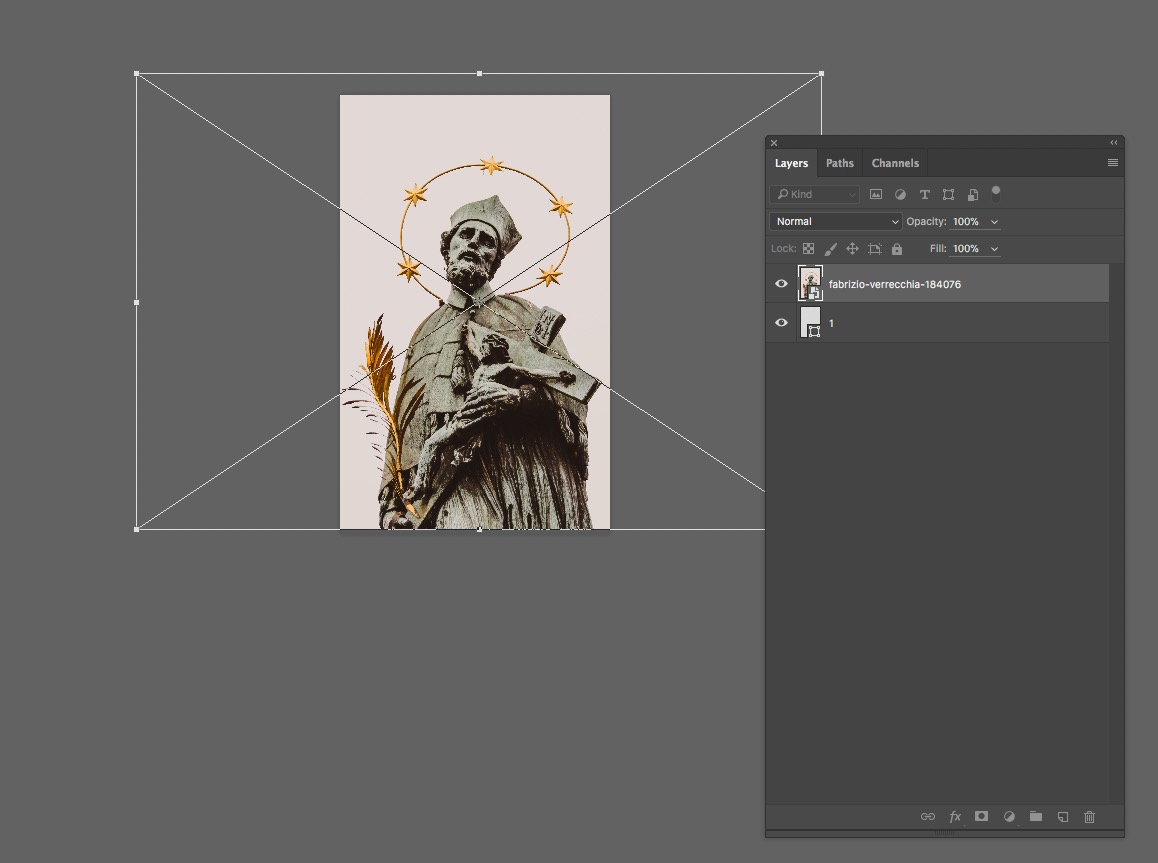
Step 2
Double-click on the first Smart Object layer (called “1” or “image 1”).
A new document will appear. Place your image inside this document, transform it, scale it, and adjust it until it fits nicely.
Save the document (File > Save, cmd+S, or ctrl+S) to make it appear on your brand board and close this document.
Step 3
Do this for each mood board area until you have it all filled in!
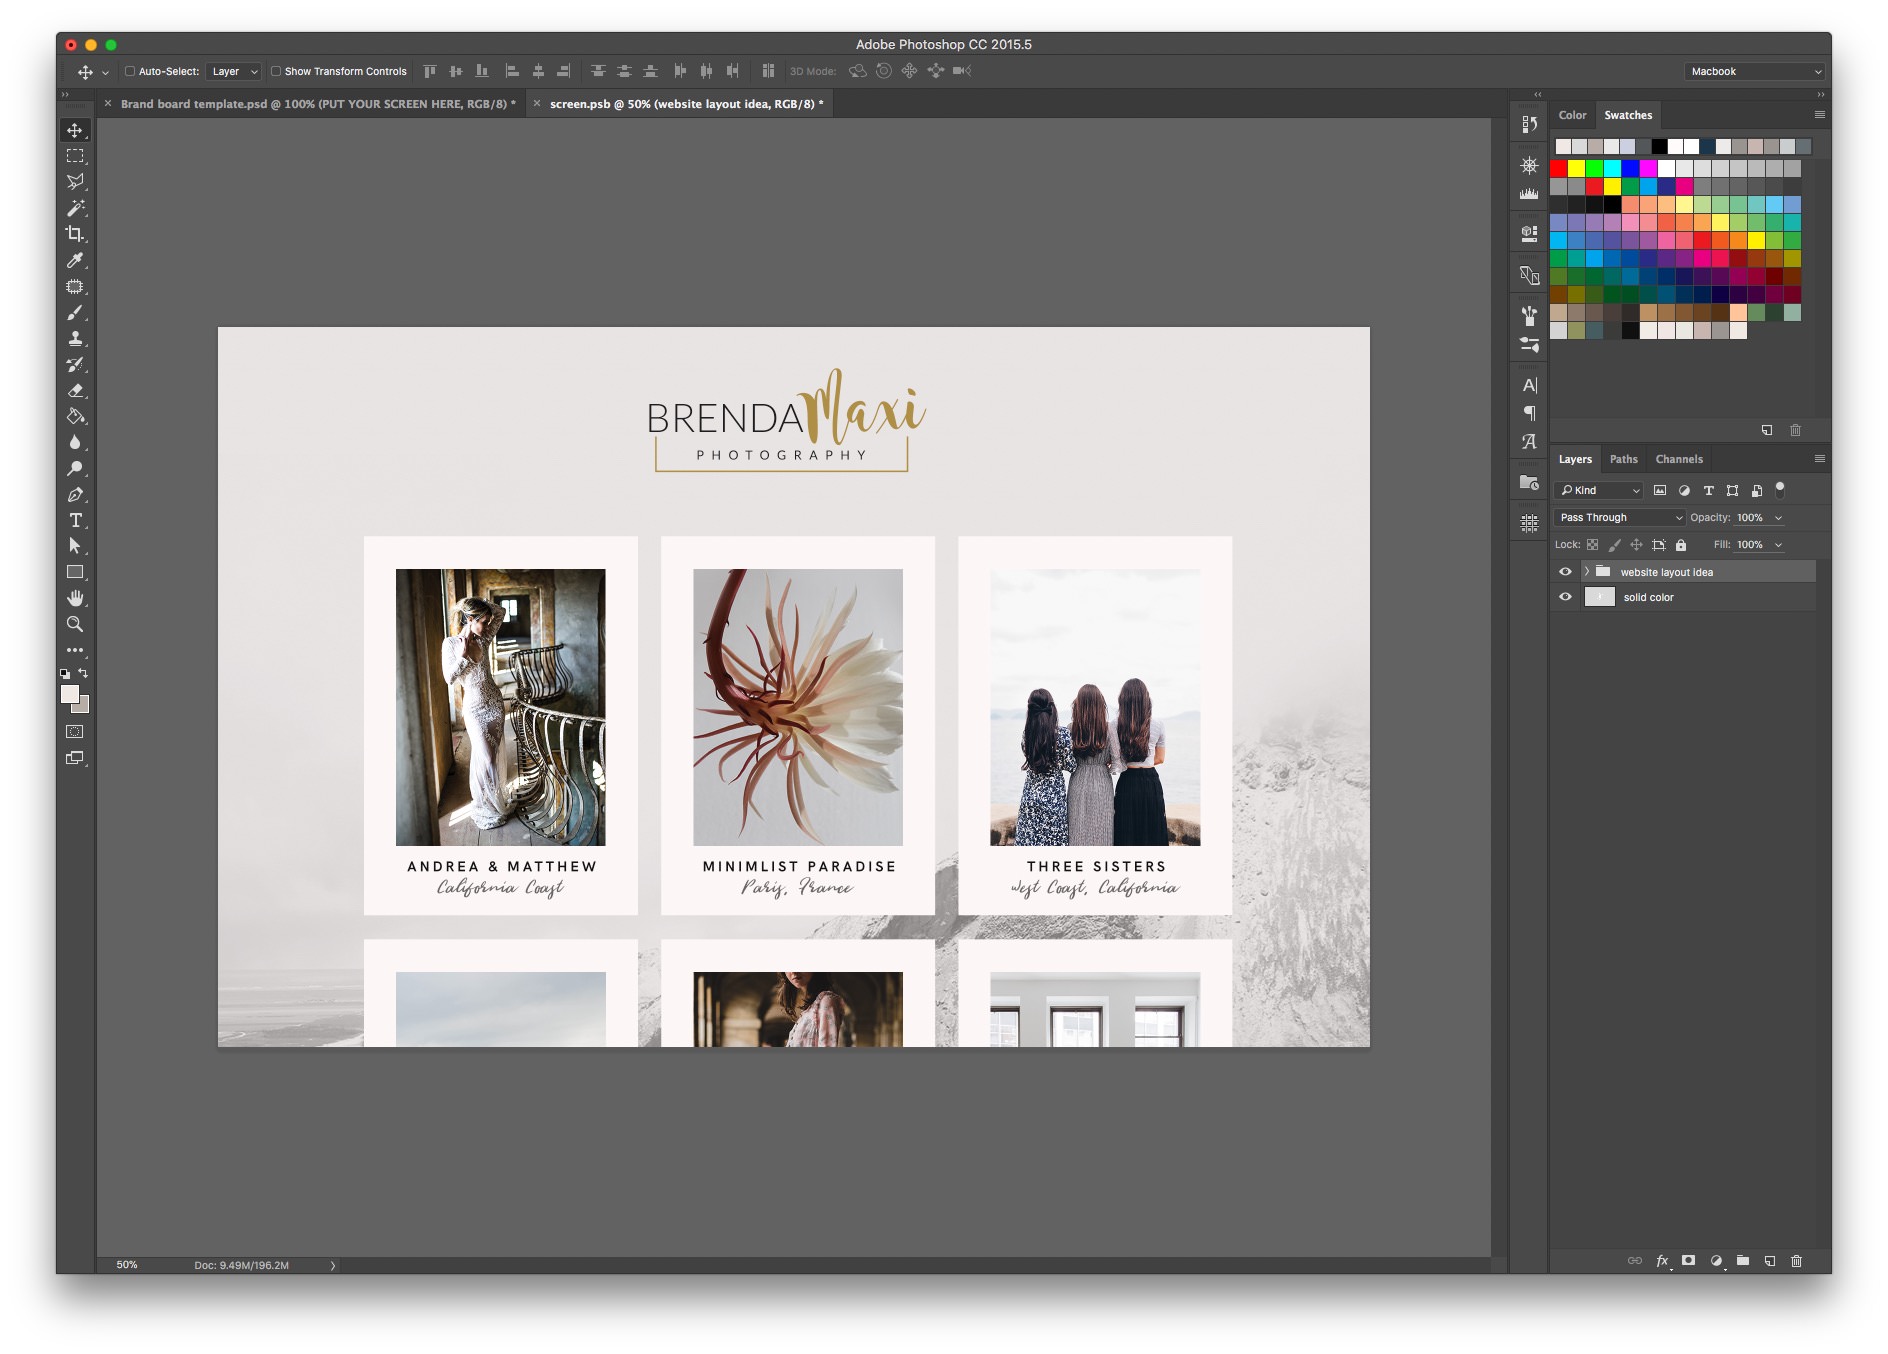
8. Website
We’re almost done with our brand board – all that’s left is a supporting screenshot or from a website or at least a potential layout suggestion for the client.
Step 1
Toggle open the “Website” folder.
You will find another folder called “Computer”. Open this folder to reveal its contents.
Step 2
Double click on the “PUT YOUR SCREEN HERE” Smart Object and place your screenshot on top of the sample image. Save and close the document.
Step 3
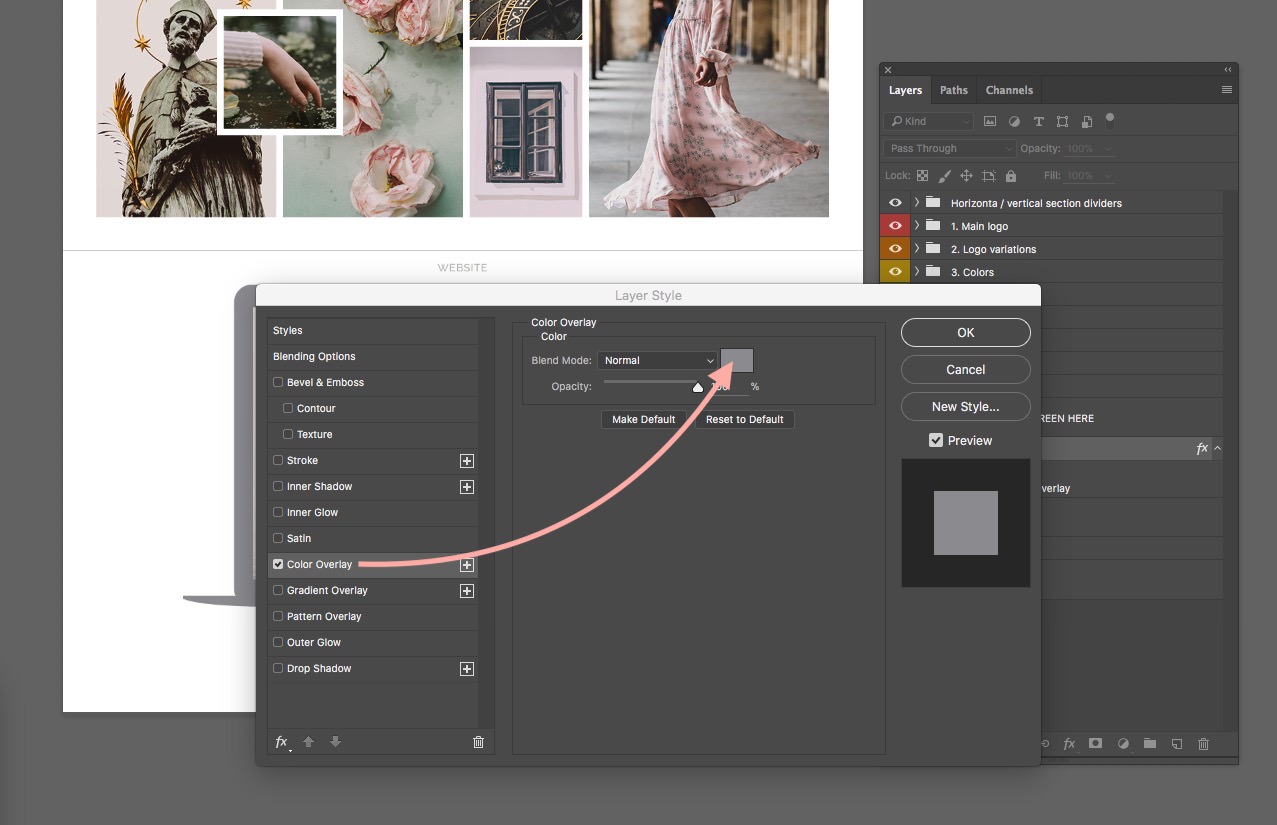
Depending on the style of your brand board, you might want to change the color of the computer graphic itself.
You do that by double-clicking on the little fx icon next to the “Elements” folder.
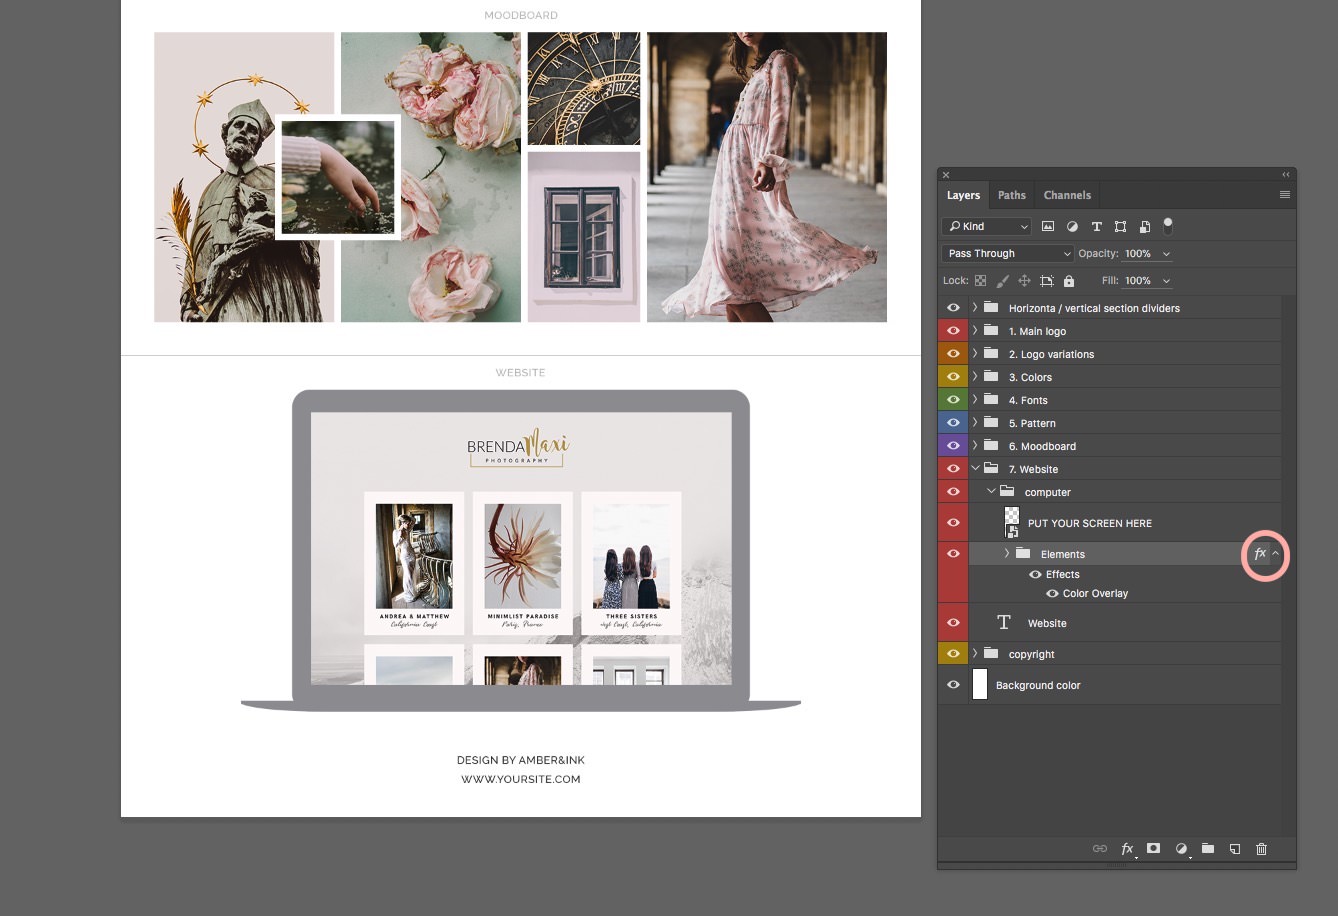
After clicking on the fx icon, a new panel will pop up.
Click on “Color Overlay” and choose the color of your computer graphic. Then click OK.
9. Copyright Info
Lastly add your own brand name and your website in the footer area of the brand board.
Use the type tool (T) to modify the text. This info will be especially useful if you plan to post your brand board on Pinterest or other sites!
All Done!
Party time!! We’re done! And here’s my final brand board.
I would love, love, love to see your brand boards so if you posted it on your website, add a link in the comments!
And better yet – if you’re a Pinterest pinner just like me – follow me @amberandink, and send me your pin – I’ll be sure to pin the heck out of it!
I hope you found this tutorial useful and if you have any questions at all, feel free to ask in the comments 🙂
With love,
Tanita
xoxo